installing & fixing mosaics professionally
Mosaics can be the perfect addition to any decor design from using it as a beautiful border to a bigger tile, or a feature design on its own including a full wall mosaic, backsplash or accent wall. Yes, there is an endless list of mosaic uses to compliment any design but not everyone knows where to start when installing and fixing mosaics.
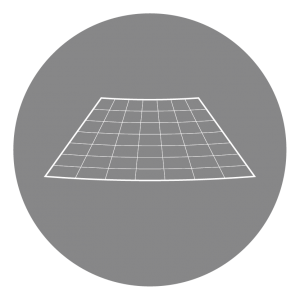
When installing Mosaics it is a tricky business to get it looking professional and neat. Sheets meshes make the mosaics more flexible - creating a movement - that could be a good thing if used correctly. Thus it is important to always make sure that the mosaics are lined up exactly before fixing them.
Here are some important steps and tips for installing and fixing mosaic perfectly:
1. SURFACE | Ensure a perfectly flat surface before beginning. You can check this with a straightedge, and flatten any dips by leveling setting-type compound over it. For walls, floors and wet areas, use a thin-set instead. Once it has hardened, your area is ready for setting and fixing.
2. Mesh | Remember to trim the mesh edges, as it can get in the way and cause grouting issues. The protruding backing can prevent you from pushing adjoining sheets close together. Use a sharp Utility knife, cutting from the back.
 3. GROUT | Oozing of grout between individual tiles could result in what might seem an endless process of cleaning up edges. It might also result in the fixture looking amateur and messy. Thus stick to the saying - less is more. If oozing does occur, wait for the thin-set to firm up, and use a small brush (like a toothbrush) to clean the thin-set out of the grout spaces (thin-set might show through the grout, so don’t leave it between the tiles). If the mosaic is not painted in the back, apply thin-set with a notched trowel. Flatten slightly with the flat side of the trowel before laying the tile. Flattening will prevent air pockets from showing, and thin-set from oozing between spaces.
 4. Spacing | When getting to the “nail-biting” edge, if spacing out was not a priority at the beginning of the process and you are left with a gap too narrow to fill with tile, but too wide for it to be inconspicuously caulked, the solution would be to spread the rows slightly. Cut the mesh between rows with the sharp utility knife, and use the trowel edge to nudge the tiles into place while ensuring the grout lines are evenly spread.

5. Tamping | Your product is up, and everything looks great, but here and there are tiles that are not flush, sticking out above the rest. For a perfectly flush look, it is important to tamp them with a block, after setting the sheets in the thin-set. Be careful that the tamping object is clean, especially from grout, so that it does not scratch the surface of the tiles.
And there you have it… just clean up the edges and you have a perfectly professional installation and fixing. Now you can sit back and admire your handiwork while enjoying the beautiful aesthetic of a Mosaico Vero mosaic.